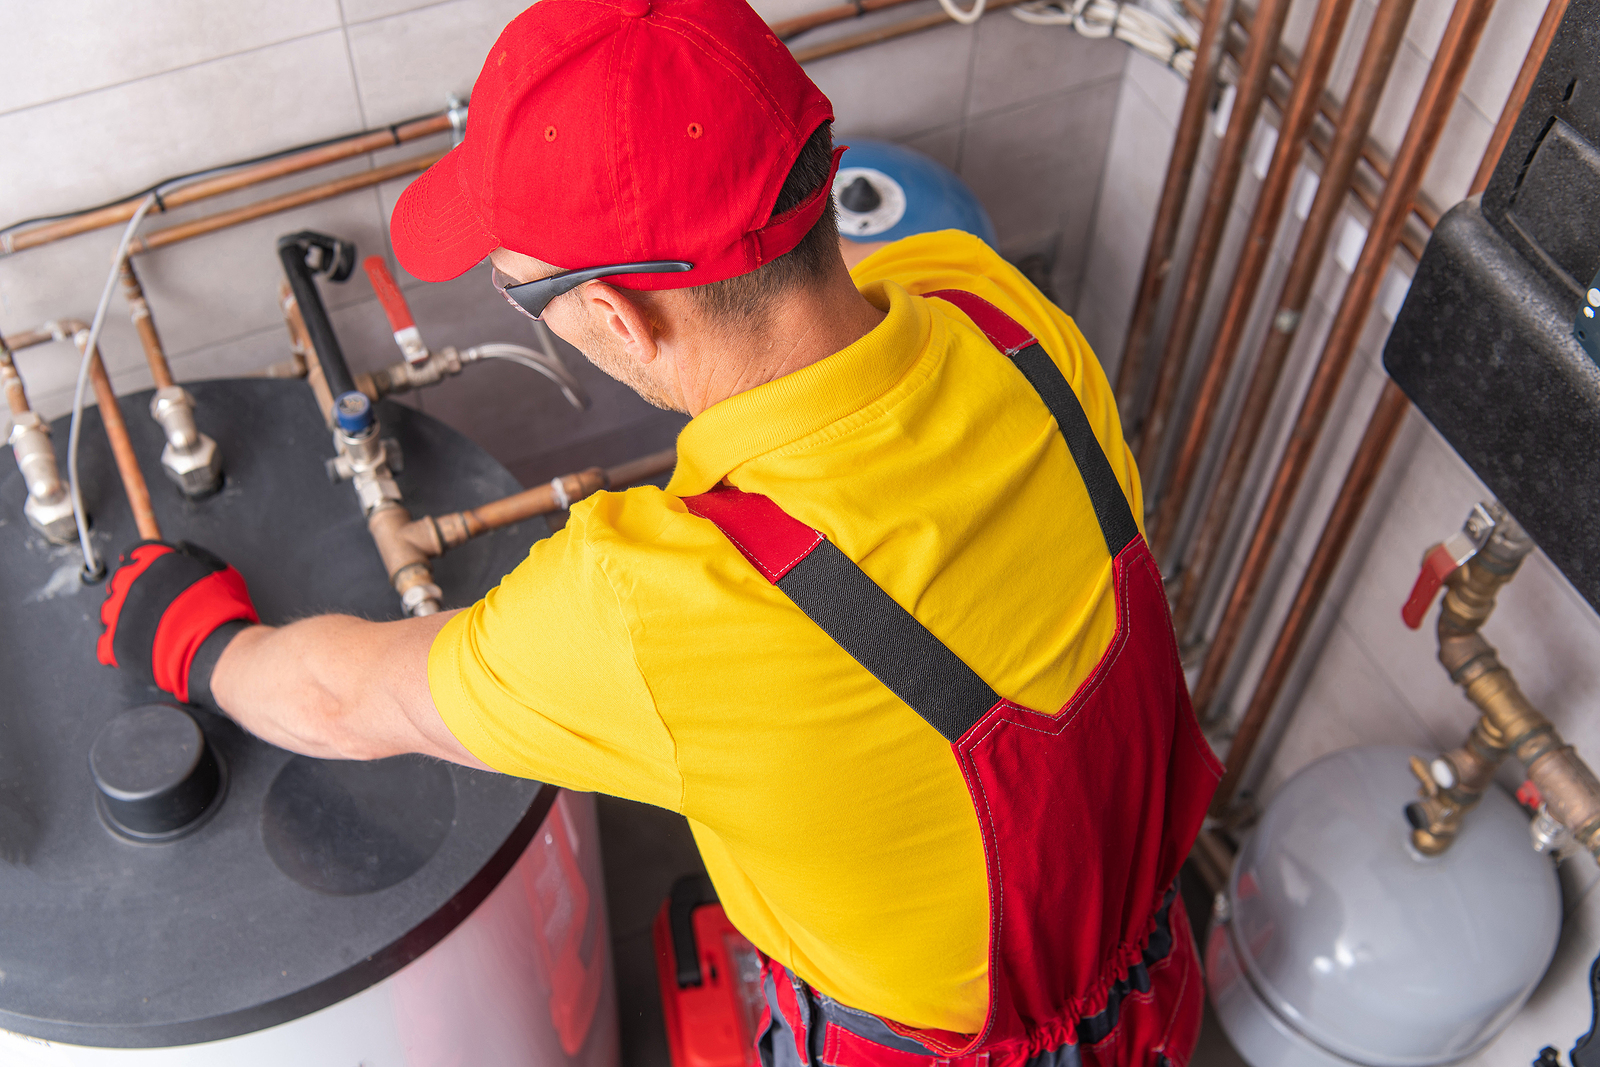
Water heaters are the unsung heroes of modern living, providing the luxury of hot showers, sanitized dishes, and clean laundry. Yet, their maintenance often takes a back seat until issues arise.
Regular maintenance is crucial to ensure their longevity, efficiency, and safety. Tucked away in the garage, as most are, the water heater is easy to forget about. Until it isn’t.
Before you start your maintenance, familiarize yourself with your water heater’s manual and the manufacturer’s recommendations. Different heaters (electric, gas, tankless) may have slightly different maintenance requirements.
Flush the tank
Over time, sediment and minerals can accumulate at the bottom of your water heater tank, reducing efficiency and causing corrosion. Perform an annual tank flush to mitigate these problems:
- Turn off the water heater and disconnect the gas or electricity supply.
- Connect a garden hose to the drain valve at the tank’s base.
- Direct the other end of the hose to a suitable drainage area.
- Open the drain valve to allow water to flow until it runs clear.
- Close the valve, remove the hose, and restore the water supply.
Inspect the anode rod
The what?
The anode rod is a vital component that prevents corrosion by attracting minerals that would otherwise end up in the tank. Regularly inspect the anode rod, usually located on the top of the water heater. If the rod shows signs of significant corrosion or wear, consider replacing it. This simple step can significantly extend your water heater’s lifespan.

Turn down the heat
Check the temperature setting on the unit. If you haven’t ever fiddled with it, most likely it will be set to 140 degrees Fahrenheit.
Lower it to 120 degrees. Not only will this save on energy costs, but you’ll be less likely to have a scalding incident in the home.
Test the pressure relief valve
The pressure relief valve is a vital safety feature that prevents excess pressure from building up in the tank, reducing the risk of dangerous explosions. To test the valve’s functionality:
- Turn off the water heater’s power and close the cold-water supply valve.
- Position a container under the discharge pipe connected to the valve.
- Carefully lift the valve’s lever for a moment to release some water. If water flows freely, the valve is working correctly.
If you’ve no idea where the pressure relief valve is located or even what it looks like (hey, I didn’t either!) check out this YouTube video from the pros at Rotor-Rooter.
Wrap your water heater
Wrapping your water heater with an insulation blanket and insulating the hot water pipes can help retain heat, reducing energy consumption and lowering utility bills. Ensure not to cover the thermostat or the top of the heater with the insulation blanket.
“Water heater insulation could reduce standby heat losses by 25%–45% and save you about 7%–16% in water heating costs—and should pay for itself in about a year,” suggests the U.S. Department of Energy experts. They even offer a handy walkthrough of the process, including how to measure the water heater to ensure you get the correct size blanket.
Detecting leaks early can save a bundle
Regularly check your water heater and the surrounding area for any signs of leaks. Even minor leaks can escalate into major issues if left unattended.
Address any water accumulation or dampness promptly to prevent further damage.

Call in a pro
While DIY maintenance is important, scheduling an annual professional inspection is equally essential.
Trained plumbers can identify potential issues that might be beyond your expertise. They can also perform more complex tasks such as checking gas connections, evaluating burner efficiency, and inspecting electrical components.
Water heaters are the unsung champions of comfort in our homes. By following these essential water heater maintenance tips, you can ensure their durability, efficiency, and safety. This means a steady supply of hot water, energy savings, and peace of mind for you and your family.


